audit审计工具使用
audit用途
监控文件、命令、网络等,生成监控报告。
安装启动audit
安装audit工具 1
yum install audit
auditd 后,启动服务以收集 审计信息,并将它存储在日志文件中。以 root 用户身份运行以下命令来启动 auditd :
1 | service auditd start |
将 auditd 配置为在引导时启动:
1 | systemctl enable auditd |
可以使用 # auditctl -e 0 命令临时禁用 auditd,并使用 # auditctl -e 1 重新启用它。
可以使用 service auditd _<action>_ 命令对 auditd 执行其他操作,其中 _<action>_可以是以下之一:
stop :停止 auditd。
restart:重新启动 auditd。
reload 或 force-reload:重新加载 /etc/audit/auditd.conf 文件中 auditd 的配置。
rotate:轮转 /var/log/audit/ 目录中的日志文件。
resume:在其之前被暂停后重新恢复审计事件记录,例如,当保存审计日志文件的磁盘分区中没有足够的可用空间时。
condrestart 或 try-restart:只有当 auditd 运行时才重新启动它。
status:显示 auditd 的运行状态。
配置规则
举例说明,监控/home/test_audit/文件夹(文件)的变更选项为rwxa(r=read, w=write, x=execute, a=attribute),设置关键字dushnda_watch 1
auditctl -w /home/test_audit/ -p rwxa -k dushnda_watch
1
2
[root@172 ~]# auditctl -l
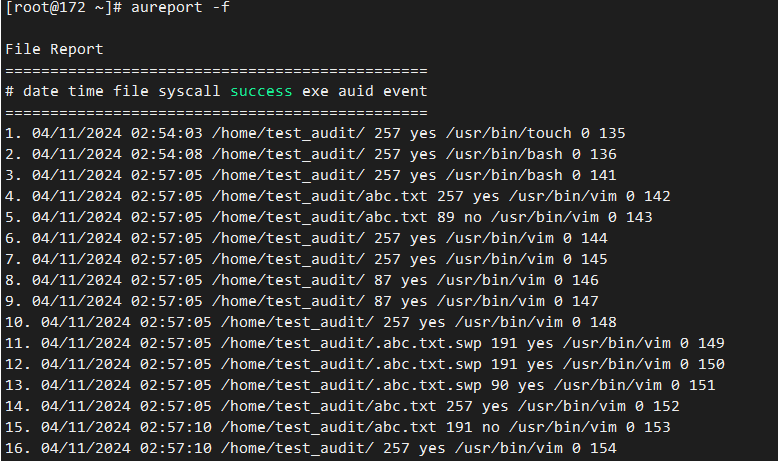
-w /home/test_audit -p rwxa -k dushnda_watchausearch,查看报告areport 1
ausearch -i -k dushnda_watch

这里的每个type是一个一次的一条记录,具体的含义查看参考链接[1],这里主要关注对文件的操作,这段日志含义是使用vim打开了文件(syscall),当前文件权限是644。
删除路径监控 1
auditctl -W /home/test_audit -p rwxa -k dushnda_watch
其中,
auditctl -d的删除和auditctl -a的添加对应,auditctl -W的删除和auditctl -w的添加对应,auditctl -D删除所有规则。
参考链接
[1] https://access.redhat.com/documentation/zh-cn/red_hat_enterprise_linux/8/html/security_hardening/auditing-the-system_security-hardening#linux-audit_auditing-the-system
[2] https://deepinout.com/linux-cmd/linux-audit-system-related-cmd/linux-cmd-auditctl.html
 Makefile文件
  运行指令,任选一条


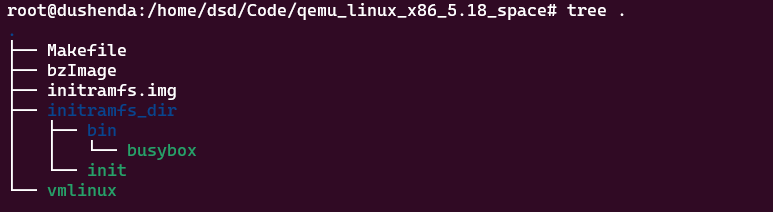
 制作initramfs.img,首先构造如下的目录结构
  init文件内容如下:
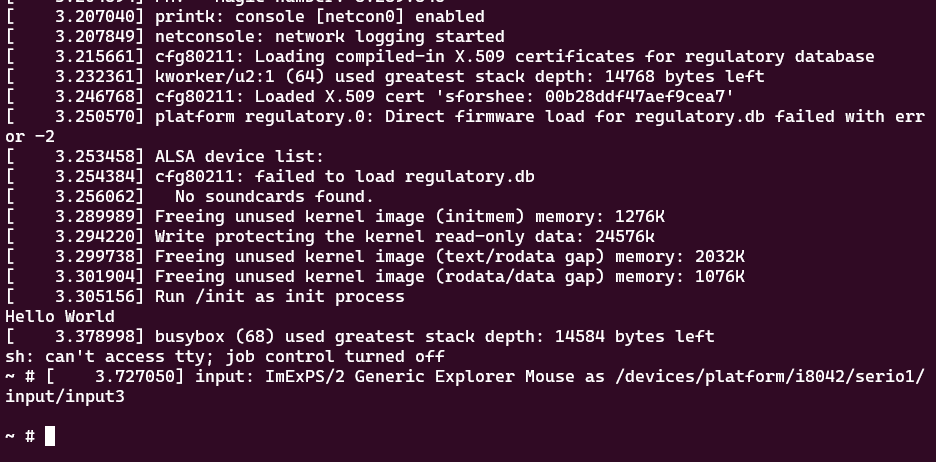
 qemu运行新内核
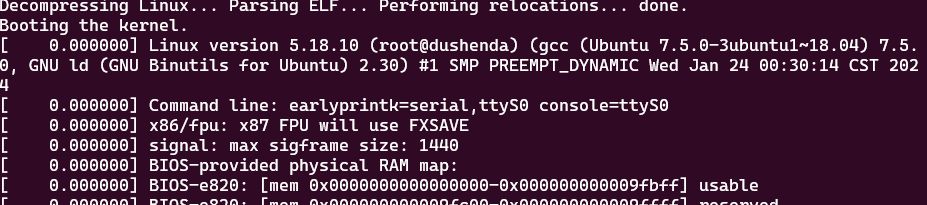

 在
在